
.png "Top 3 Weekend DIY Project You Can Try at Home")

The weekend is the perfect time to take on rewarding DIY projects around your home. With just a little planning and motivation, you can complete meaningful improvements that add both functionality and value to your living space. Here are three carefully selected projects you can accomplish in just a couple of days, no matter your skill level.
1. Build a Custom Floating Shelf Display
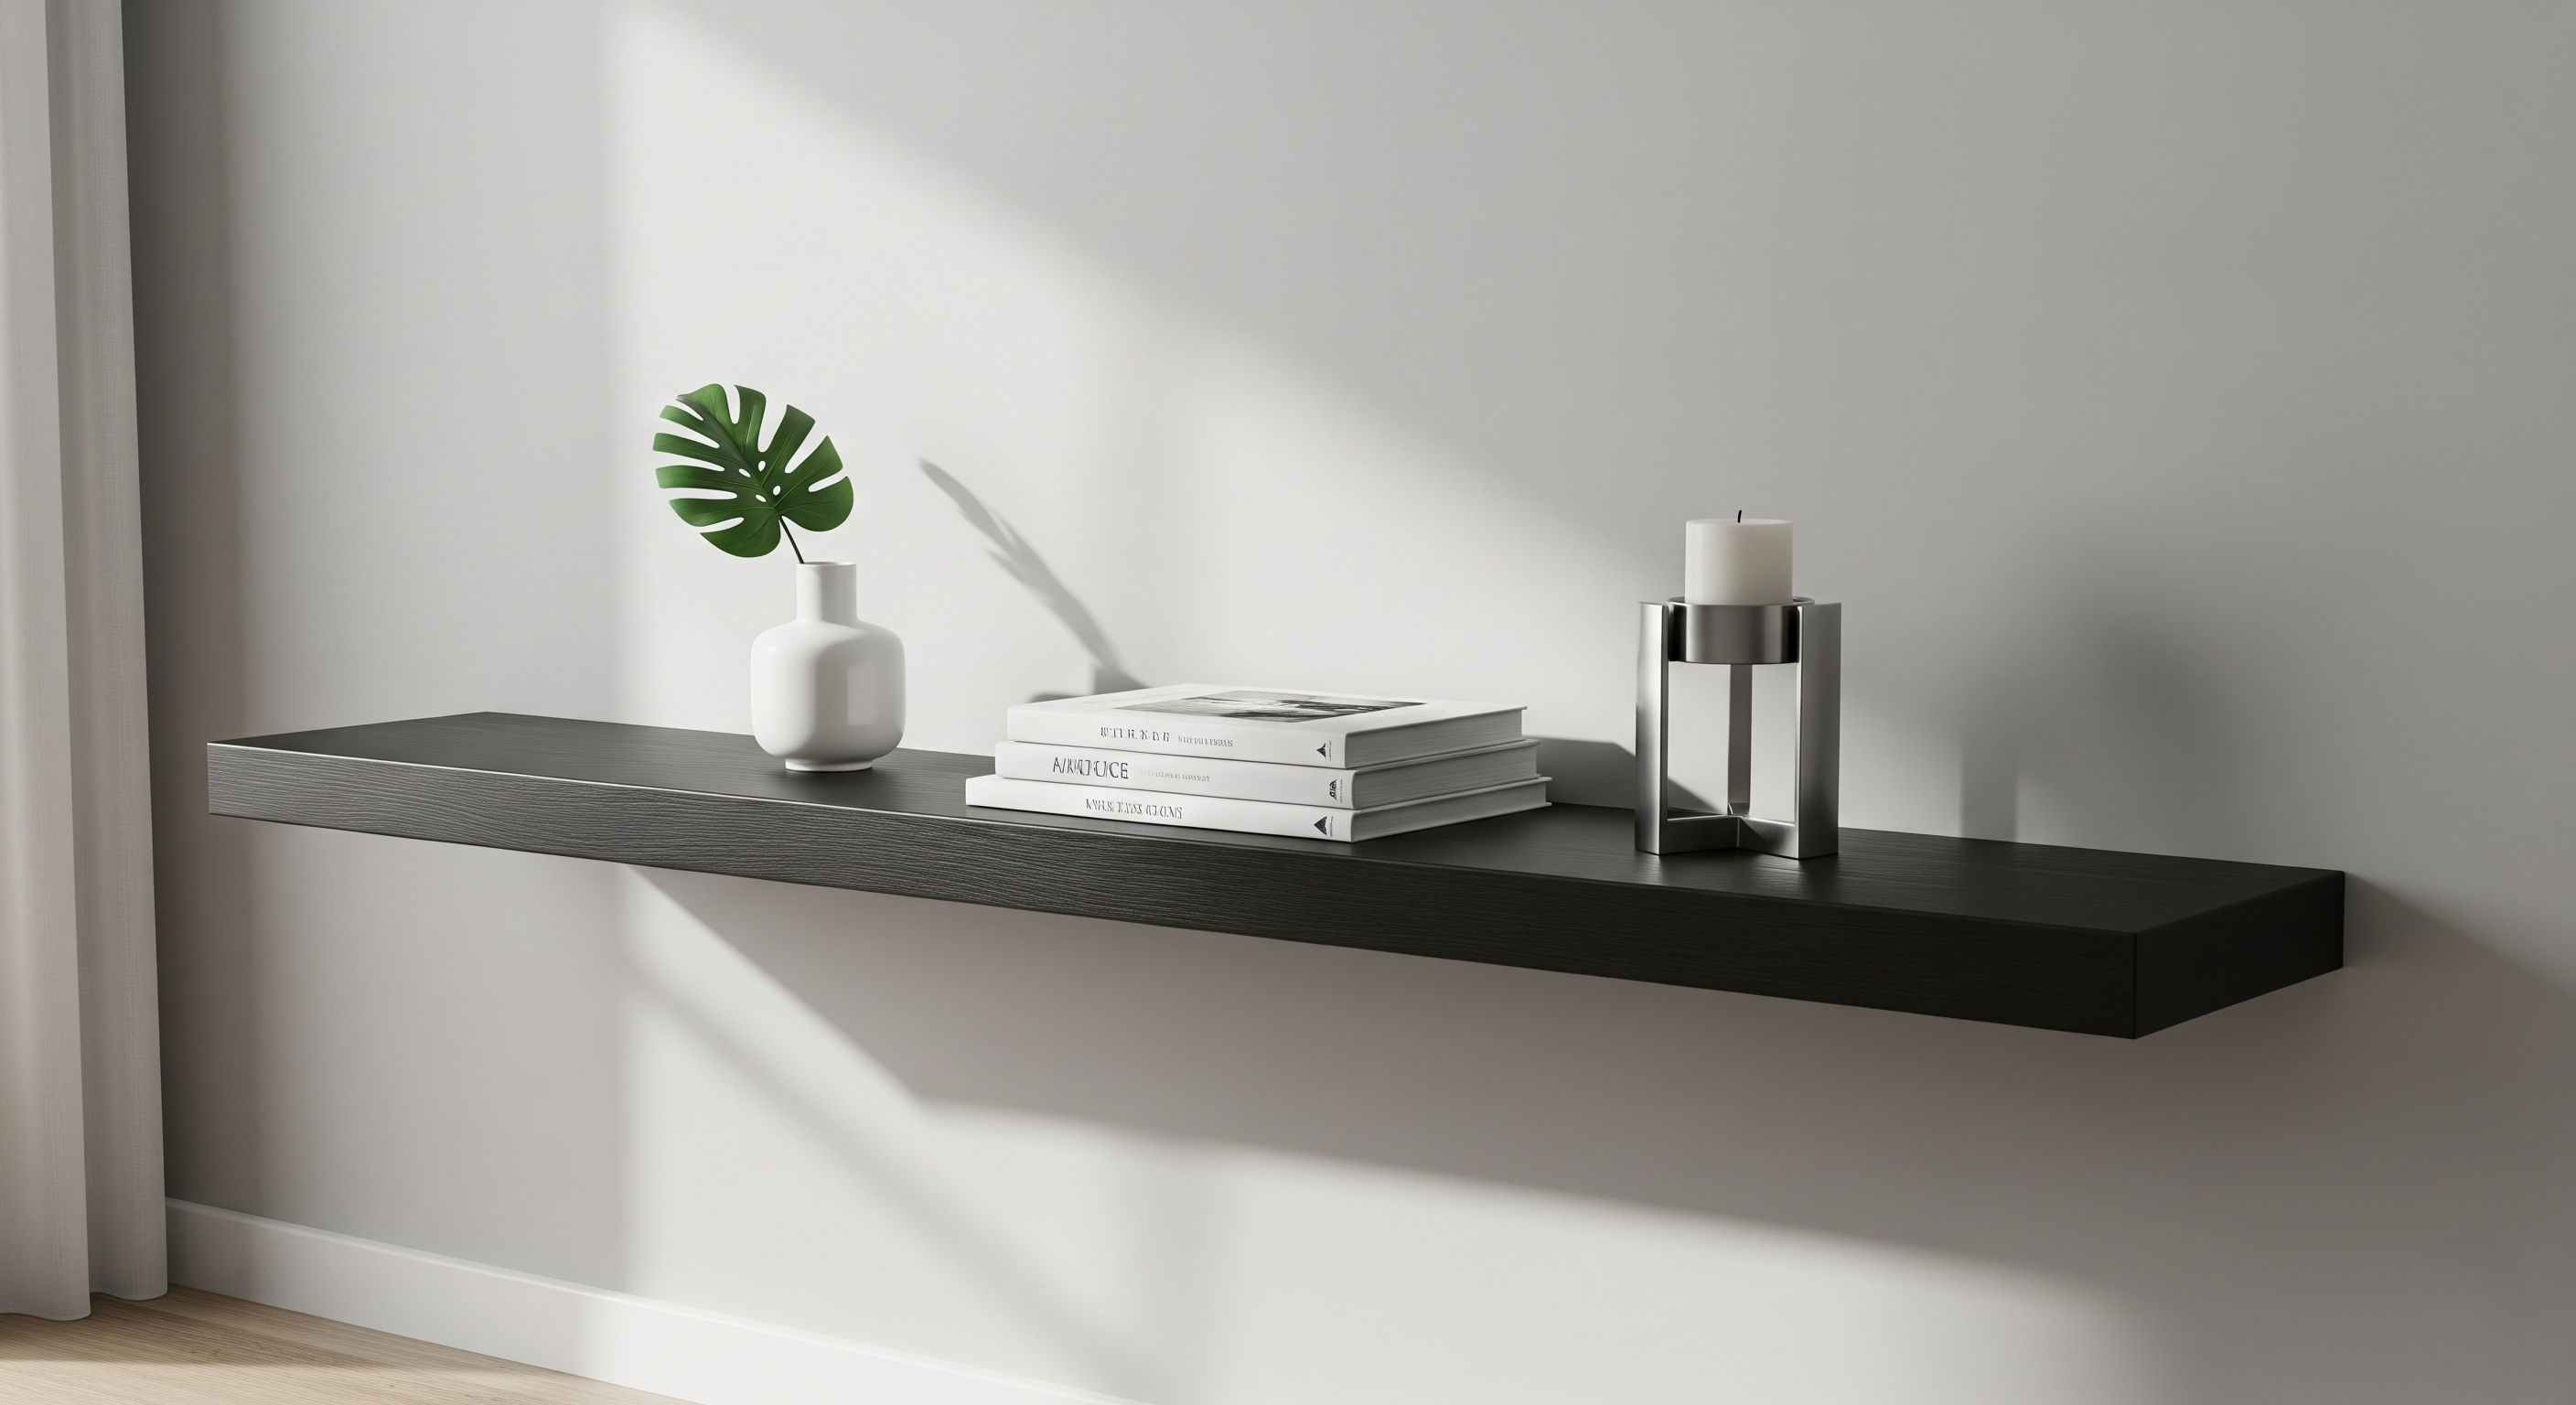
Floating shelves are an excellent way to add storage and display space while maintaining a clean, modern aesthetic. This project combines practicality with visual appeal, making it perfect for any room in your home.
Materials Needed:
- 1x6 or 1x8 pine boards (length depends on desired shelf size)
- 2x2 lumber for internal support
- Wood screws (2.5" and 1.25")
- Wall anchors or toggle bolts
- Wood stain or paint
- Sandpaper (120 and 220 grit)
- Level
- Drill and bits
Step-by-Step Instructions:
-
Plan and measure your shelf placement on the wall, marking stud locations with a stud finder.
-
Cut your materials to size. For each shelf, you'll need one face board and one 2x2 cleat that's 3 inches shorter than the shelf length.
-
Create the wall cleat by ripping the 2x2 at a 45-degree angle lengthwise, creating two pieces with complementary beveled edges.
-
Attach one cleat piece to the wall, ensuring it's level and securely fastened to wall studs.
-
Hollow out the back of your shelf board to accommodate the wall cleat, then attach the matching cleat piece inside.
-
Sand and finish your shelf with stain or paint, allowing proper drying time.
-
Install the shelf by sliding it onto the wall-mounted cleat until it sits flush against the wall.
2. Create a Stylish Entryway Coat Rack
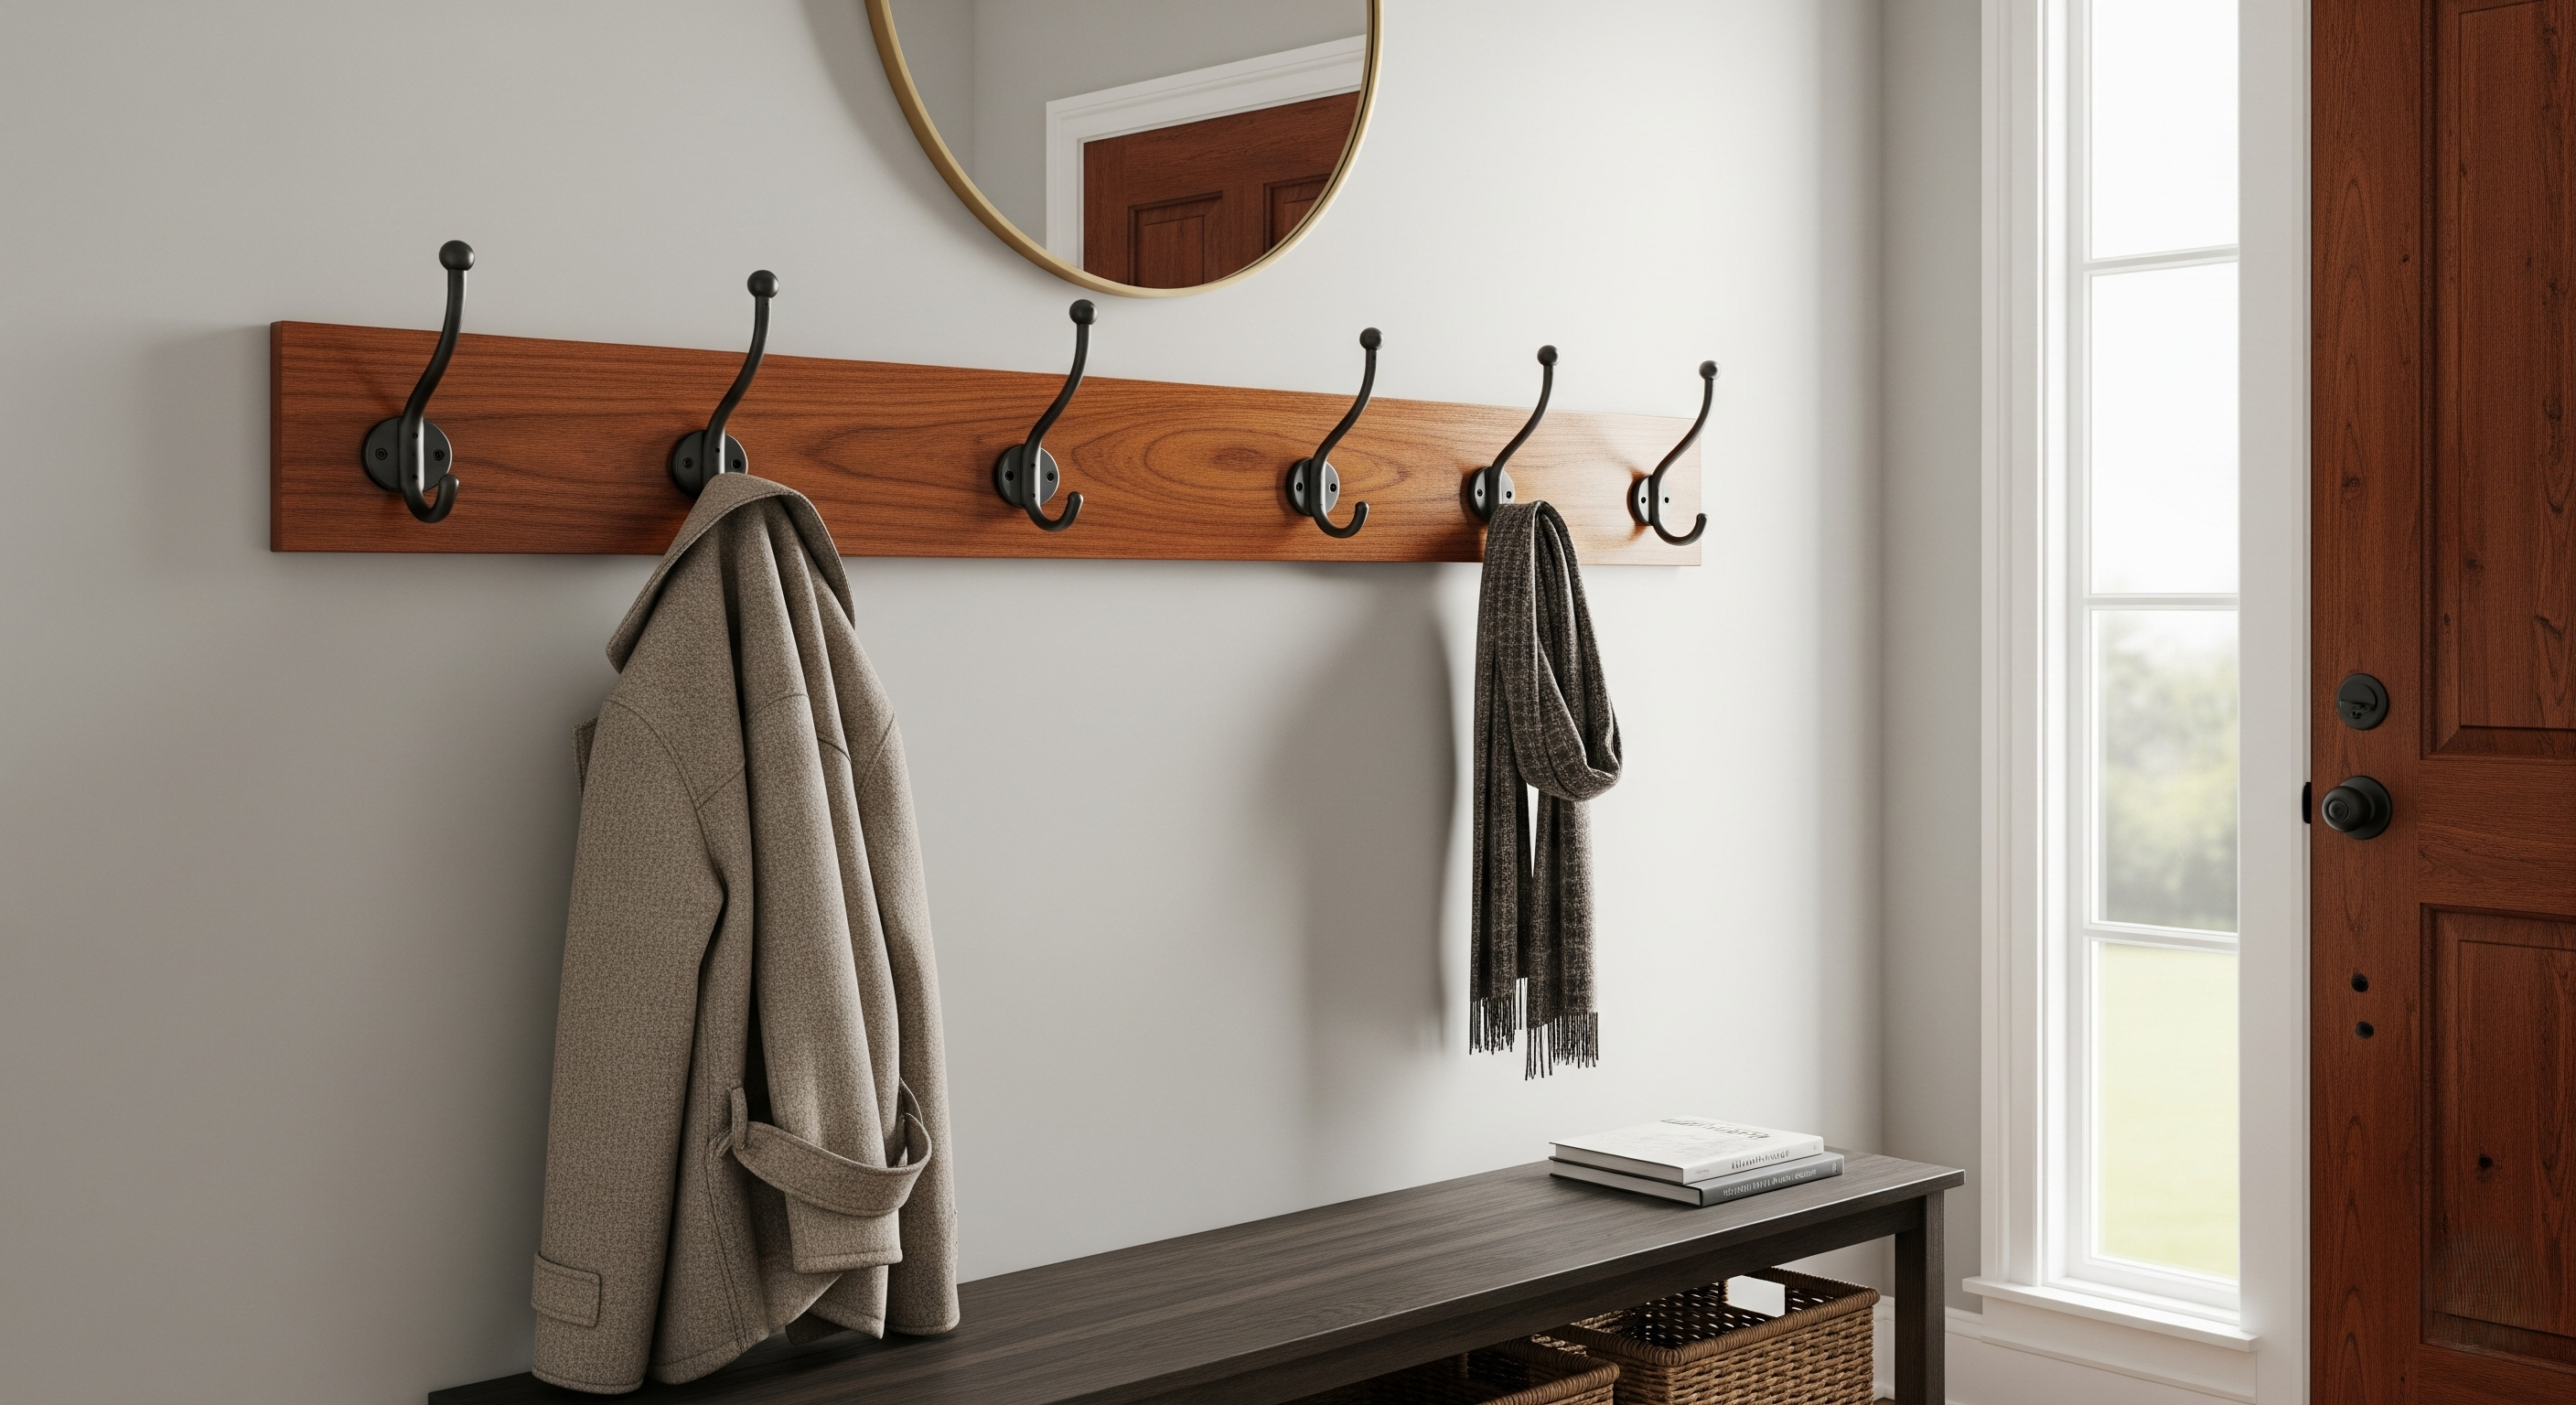
An organized entryway sets the tone for your entire home. This simple yet elegant coat rack project will help keep jackets, bags, and accessories neatly arranged while adding a touch of craftsmanship to your space.
Materials Needed:
- 1x4 pine or oak board (36-48 inches long)
- 4-6 decorative wall hooks
- Wood screws for hooks
- Wall mounting hardware
- Wood stain or paint
- Sandpaper (120 and 220 grit)
- Drill and bits
- Measuring tape
Step-by-Step Instructions:
-
Select and prepare your board by sanding it smooth, starting with 120-grit and finishing with 220-grit sandpaper.
-
Plan hook placement by measuring and marking even intervals along the board, typically 6-8 inches apart.
-
Pre-drill holes for the hooks to prevent wood splitting, using a bit slightly smaller than your screw diameter.
-
Apply your chosen finish, whether stain for a natural look or paint for a more contemporary appearance.
-
Install the hooks once the finish is completely dry, ensuring they're all oriented the same direction.
-
Mark wall mounting points by holding the completed rack against the wall and marking through pre-drilled mounting holes.
-
Secure to the wall using appropriate anchors for your wall type, ensuring the rack is level and firmly attached.
3. Design a Multi-Purpose Storage Ottoman
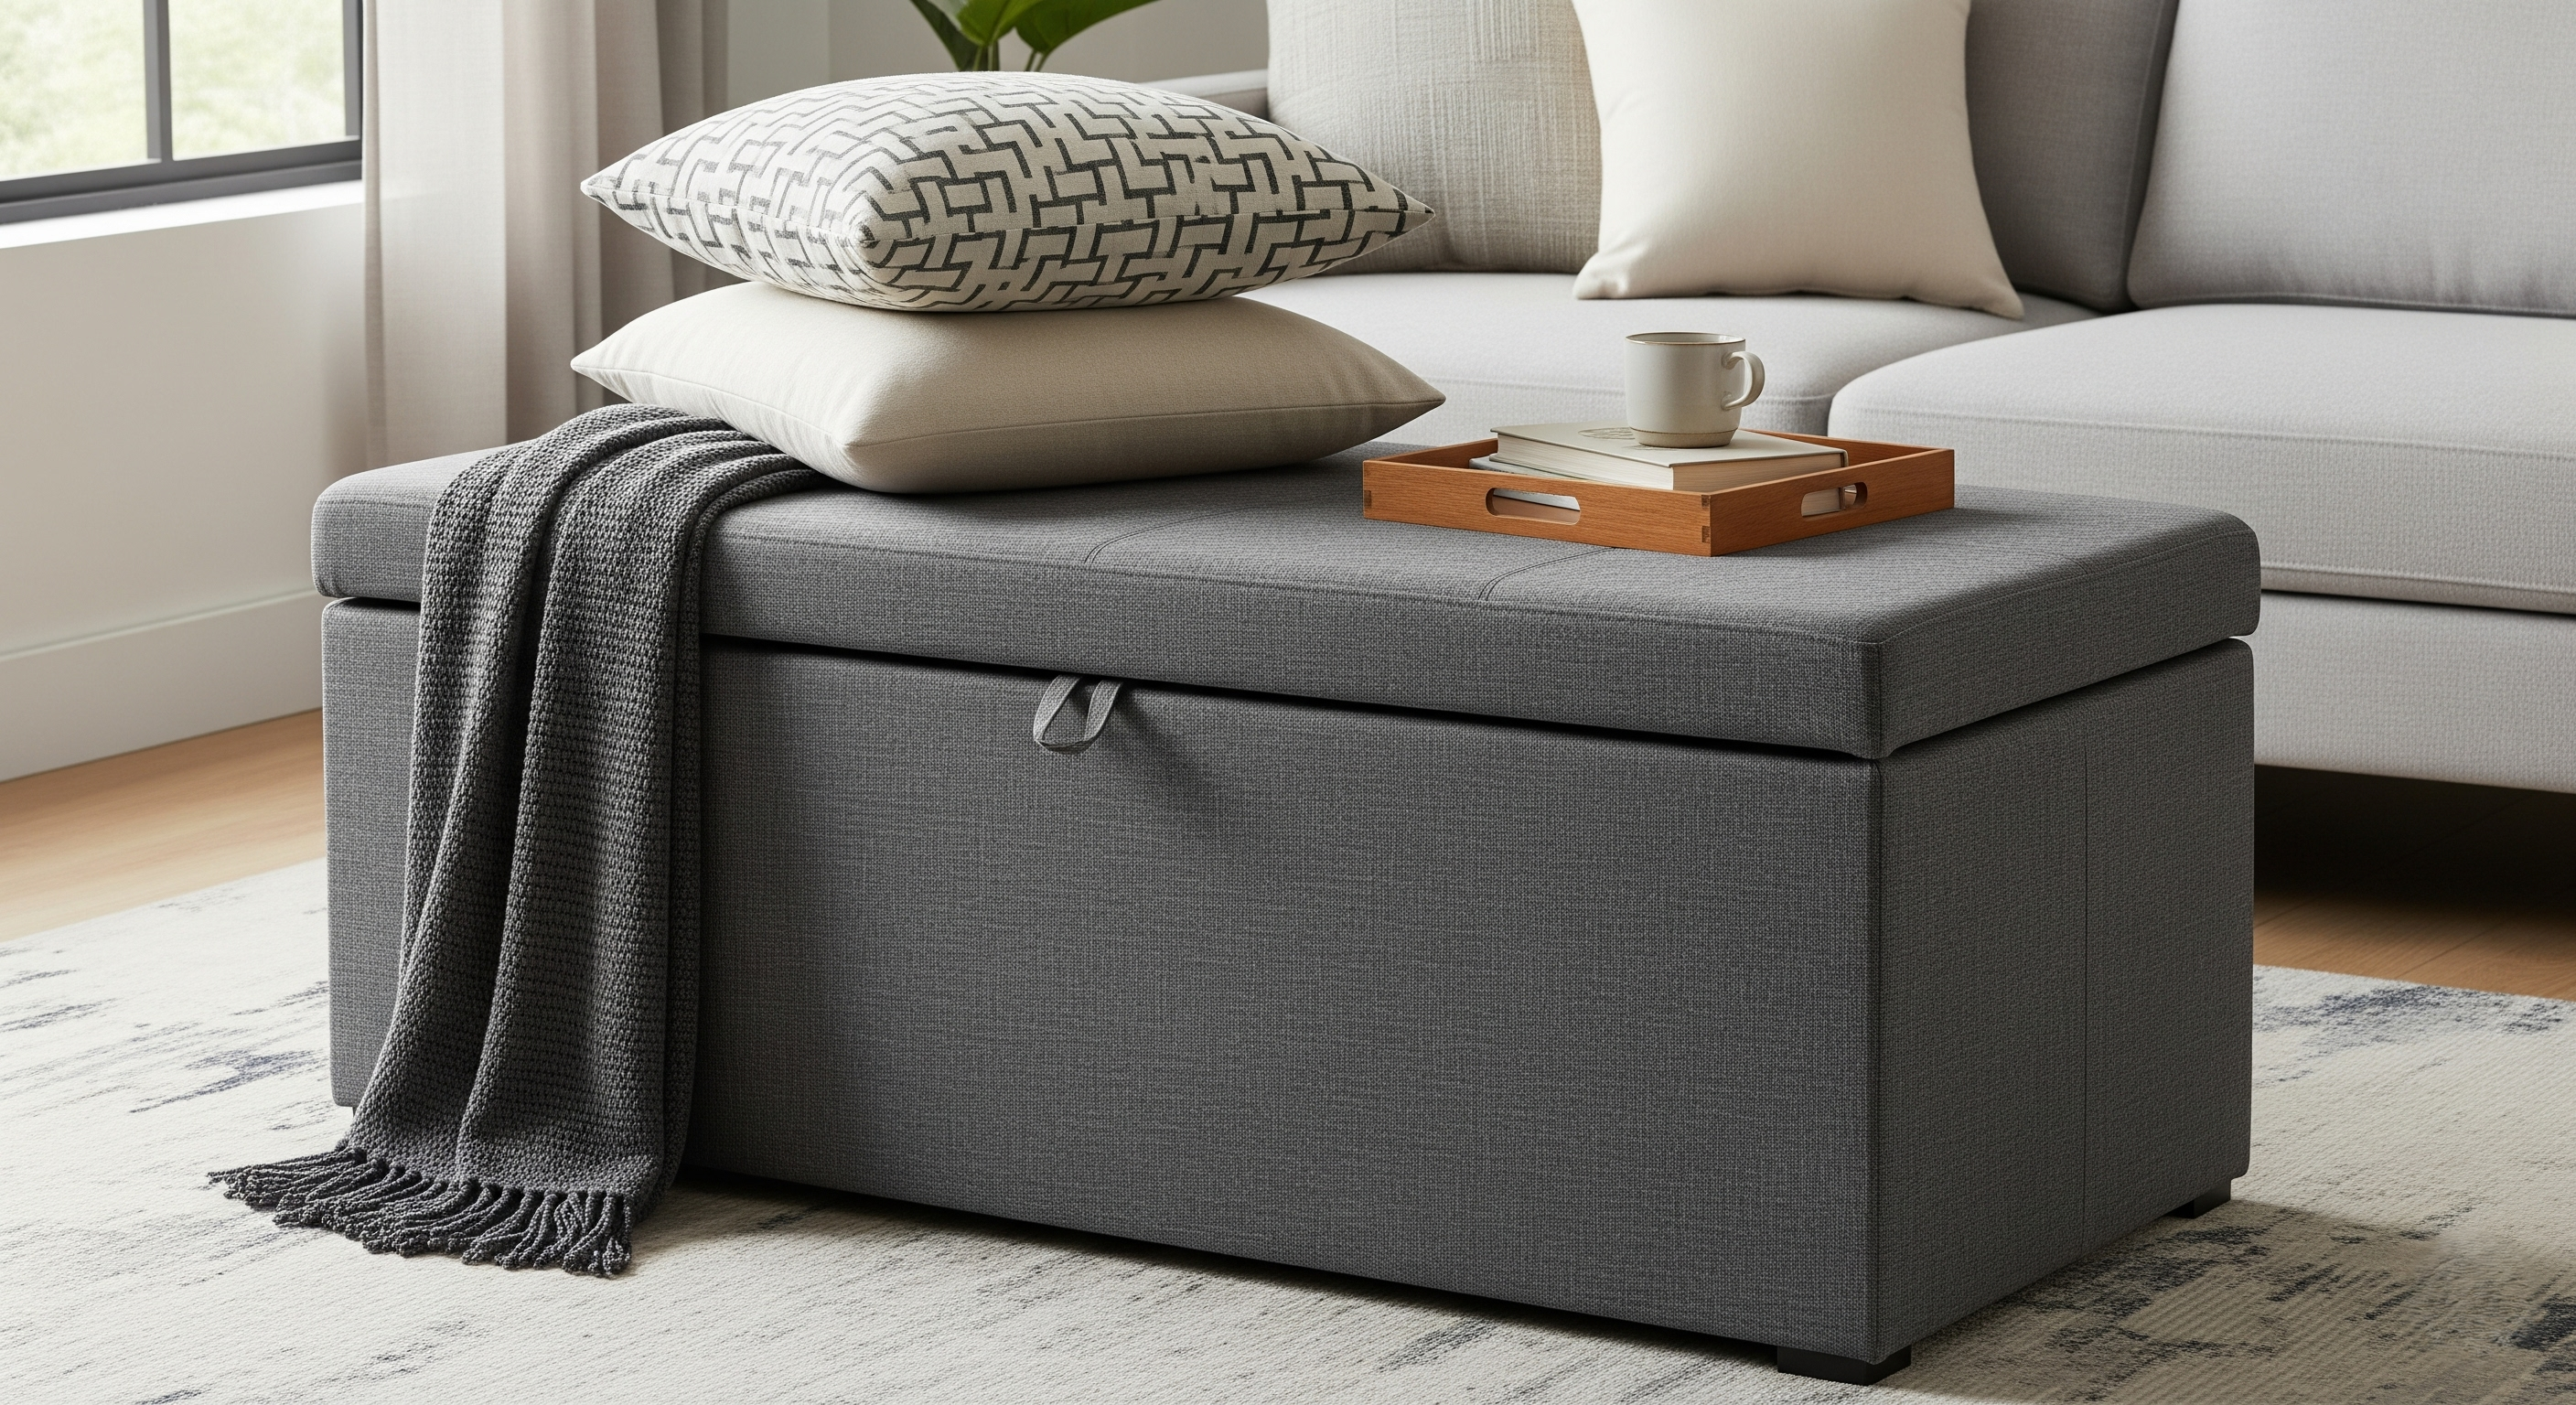
This versatile storage ottoman serves triple duty as seating, a footrest, and hidden storage. It's an ideal project for beginners while providing practical benefits that will be appreciated daily.
Materials Needed:
- 3/4" plywood or MDF (2x2 feet)
- 2x2 lumber for internal frame
- High-density foam (2-3 inches thick)
- Upholstery fabric (1.5 yards)
- Heavy-duty hinges
- Wood screws (various lengths)
- Staple gun and staples
- Batting or thin foam padding
- Furniture legs (optional)
Step-by-Step Instructions:
-
Cut your base pieces from plywood: one top (18"x18"), four sides (18"x16"), and one bottom (16.5"x16.5").
-
Assemble the box frame by attaching the sides to the bottom piece with wood screws, creating a sturdy rectangular container.
-
Reinforce corners with 2x2 lumber pieces cut to fit, providing additional strength for seating.
-
Prepare the cushioned top by cutting foam to match the top piece dimensions and securing it with spray adhesive.
-
Add batting layer over the foam for a smoother finish, then stretch your chosen fabric over the entire assembly.
-
Secure fabric to the underside of the top piece using a staple gun, pulling taut and creating neat corners.
-
Attach hinges to connect the upholstered top to the storage box, ensuring smooth operation and proper alignment.
-
Add finishing touches such as furniture legs or felt pads to protect your flooring.
Conclusion
These three DIY projects offer varying levels of complexity while delivering practical improvements to your home. Each one can be completed over the course of a weekend with basic tools and materials. The sense of accomplishment from creating functional, attractive additions to your living space is a great way to spend your free time while investing in your home's comfort and value.
At Niehaus Lumber, you’ll find everything you need to get started—quality lumber, hardware, finishes, and more—along with expert advice to guide you through each step. Whether you're building a floating shelf, a coat rack, or a custom storage ottoman, Niehaus Lumber has the right supplies to help turn your weekend project into a success.
Remember to take your time with measurements, prioritize safety when using tools, and enjoy the process of creating something lasting for your home. Happy building!


The weekend is the perfect time to take on rewarding DIY projects around your home. With just a little planning and motivation, you can complete meaningful improvements that add both functionality and value to your living space. Here are three carefully selected projects you can accomplish in just a couple of days, no matter your skill level.
1. Build a Custom Floating Shelf Display
Floating shelves are an excellent way to add storage and display space while maintaining a clean, modern aesthetic. This project combines practicality with visual appeal, making it perfect for any room in your home.
Materials Needed:
- 1x6 or 1x8 pine boards (length depends on desired shelf size)
- 2x2 lumber for internal support
- Wood screws (2.5" and 1.25")
- Wall anchors or toggle bolts
- Wood stain or paint
- Sandpaper (120 and 220 grit)
- Level
- Drill and bits
Step-by-Step Instructions:
-
Plan and measure your shelf placement on the wall, marking stud locations with a stud finder.
-
Cut your materials to size. For each shelf, you'll need one face board and one 2x2 cleat that's 3 inches shorter than the shelf length.
-
Create the wall cleat by ripping the 2x2 at a 45-degree angle lengthwise, creating two pieces with complementary beveled edges.
-
Attach one cleat piece to the wall, ensuring it's level and securely fastened to wall studs.
-
Hollow out the back of your shelf board to accommodate the wall cleat, then attach the matching cleat piece inside.
-
Sand and finish your shelf with stain or paint, allowing proper drying time.
-
Install the shelf by sliding it onto the wall-mounted cleat until it sits flush against the wall.
2. Create a Stylish Entryway Coat Rack
An organized entryway sets the tone for your entire home. This simple yet elegant coat rack project will help keep jackets, bags, and accessories neatly arranged while adding a touch of craftsmanship to your space.
Materials Needed:
- 1x4 pine or oak board (36-48 inches long)
- 4-6 decorative wall hooks
- Wood screws for hooks
- Wall mounting hardware
- Wood stain or paint
- Sandpaper (120 and 220 grit)
- Drill and bits
- Measuring tape
Step-by-Step Instructions:
-
Select and prepare your board by sanding it smooth, starting with 120-grit and finishing with 220-grit sandpaper.
-
Plan hook placement by measuring and marking even intervals along the board, typically 6-8 inches apart.
-
Pre-drill holes for the hooks to prevent wood splitting, using a bit slightly smaller than your screw diameter.
-
Apply your chosen finish, whether stain for a natural look or paint for a more contemporary appearance.
-
Install the hooks once the finish is completely dry, ensuring they're all oriented the same direction.
-
Mark wall mounting points by holding the completed rack against the wall and marking through pre-drilled mounting holes.
-
Secure to the wall using appropriate anchors for your wall type, ensuring the rack is level and firmly attached.
3. Design a Multi-Purpose Storage Ottoman
This versatile storage ottoman serves triple duty as seating, a footrest, and hidden storage. It's an ideal project for beginners while providing practical benefits that will be appreciated daily.
Materials Needed:
- 3/4" plywood or MDF (2x2 feet)
- 2x2 lumber for internal frame
- High-density foam (2-3 inches thick)
- Upholstery fabric (1.5 yards)
- Heavy-duty hinges
- Wood screws (various lengths)
- Staple gun and staples
- Batting or thin foam padding
- Furniture legs (optional)
Step-by-Step Instructions:
-
Cut your base pieces from plywood: one top (18"x18"), four sides (18"x16"), and one bottom (16.5"x16.5").
-
Assemble the box frame by attaching the sides to the bottom piece with wood screws, creating a sturdy rectangular container.
-
Reinforce corners with 2x2 lumber pieces cut to fit, providing additional strength for seating.
-
Prepare the cushioned top by cutting foam to match the top piece dimensions and securing it with spray adhesive.
-
Add batting layer over the foam for a smoother finish, then stretch your chosen fabric over the entire assembly.
-
Secure fabric to the underside of the top piece using a staple gun, pulling taut and creating neat corners.
-
Attach hinges to connect the upholstered top to the storage box, ensuring smooth operation and proper alignment.
-
Add finishing touches such as furniture legs or felt pads to protect your flooring.
Conclusion
These three DIY projects offer varying levels of complexity while delivering practical improvements to your home. Each one can be completed over the course of a weekend with basic tools and materials. The sense of accomplishment from creating functional, attractive additions to your living space is a great way to spend your free time while investing in your home's comfort and value.
At Niehaus Lumber, you’ll find everything you need to get started—quality lumber, hardware, finishes, and more—along with expert advice to guide you through each step. Whether you're building a floating shelf, a coat rack, or a custom storage ottoman, Niehaus Lumber has the right supplies to help turn your weekend project into a success.
Remember to take your time with measurements, prioritize safety when using tools, and enjoy the process of creating something lasting for your home. Happy building!